
8 iunie 2026
A complete daily maintenance check for a wheel loader takes 10 to 15 minutes and covers five areas: walk-around inspection, fluid level checks, filter inspections, cab and controls, and operational test. Following this daily checklist prevents 80 percent of common breakdowns and extends engine life by up to 50 percent.
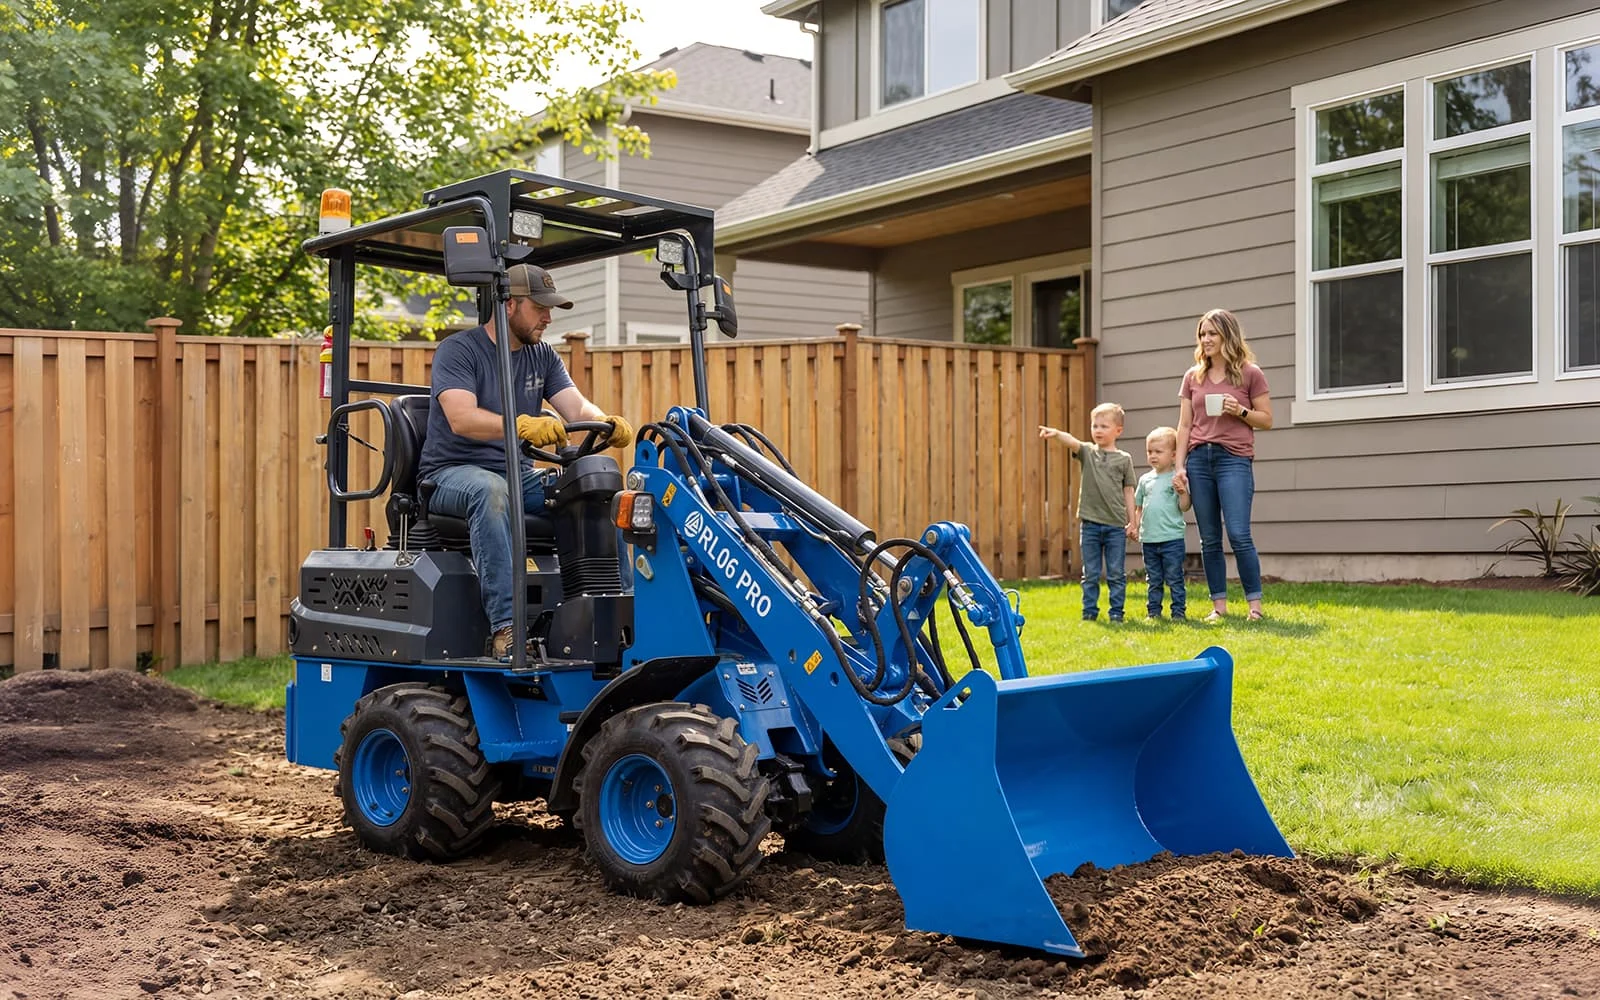
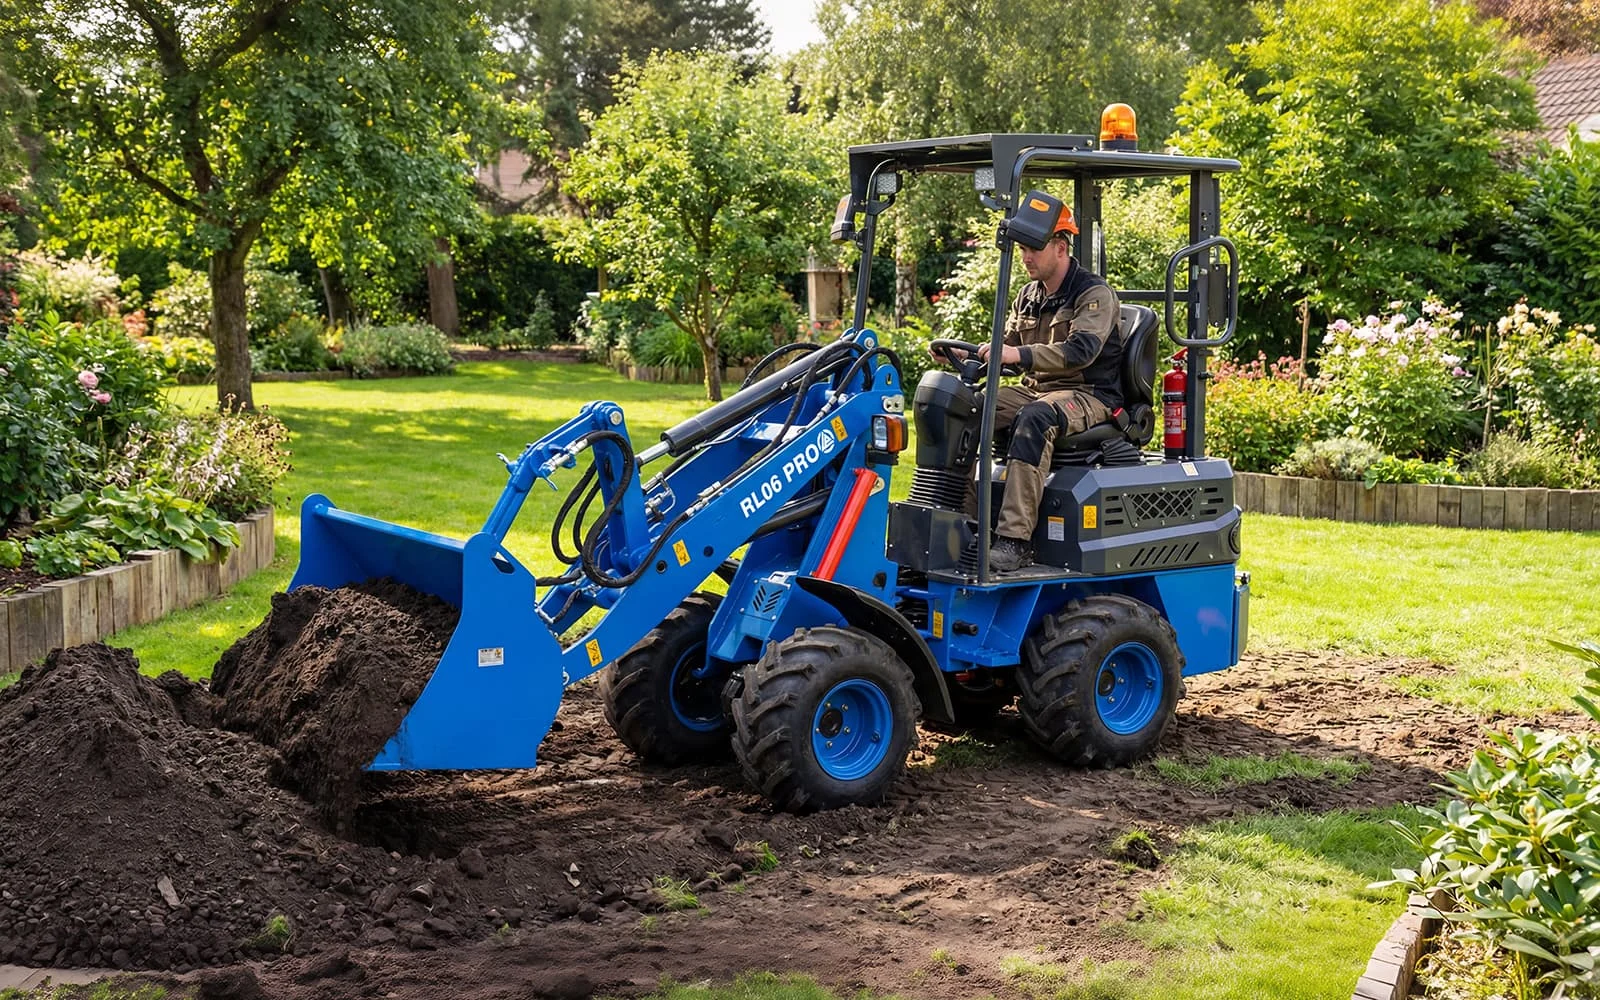
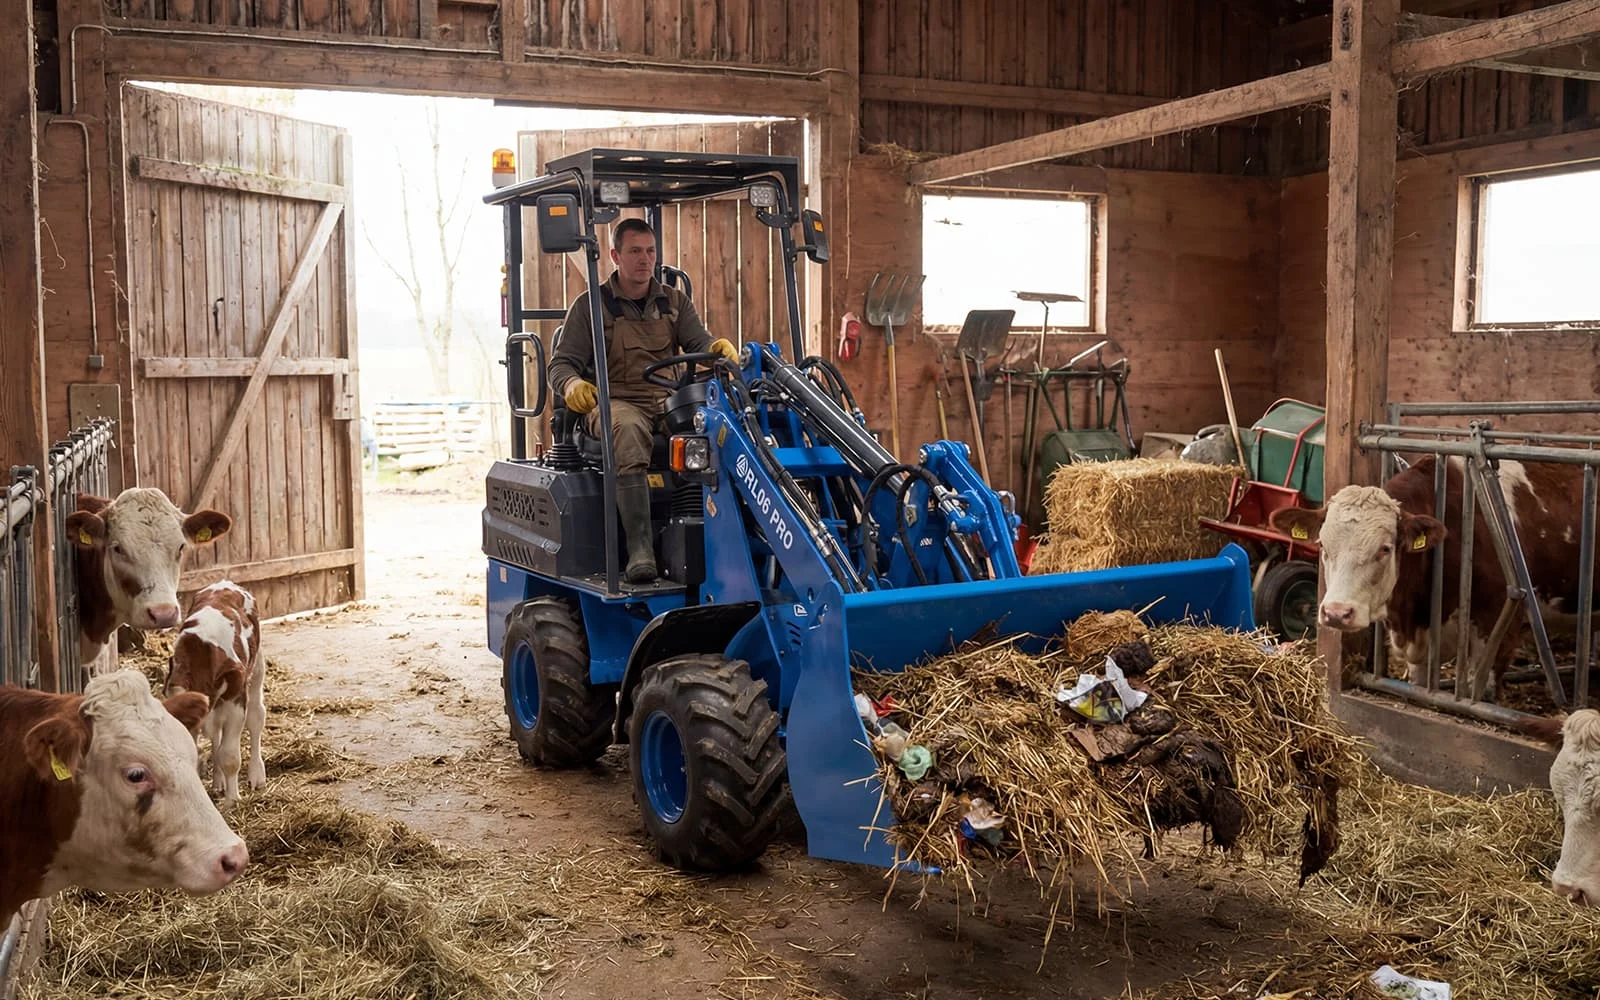
The Rippa documentation emphasizes easy maintenance across all RL series models. Opening the seat on the RL06 provides easy access to the engine, filter element, and other components. The engine hood on the RL10 opens backward for one-handed operation. The RL15 and RL20 have both-side engine hood opening.
These designs are not accidents. Rippa wants you to do daily maintenance because it prevents breakdowns and accidents. As the documentation states, to prevent breakdowns and accidents, be sure to inspect the machinery regularly.
A 10-minute daily check can save you from a 10,000 USD engine repair.
Perform this inspection with the engine off, parking brake engaged, and the bucket lowered to the ground.
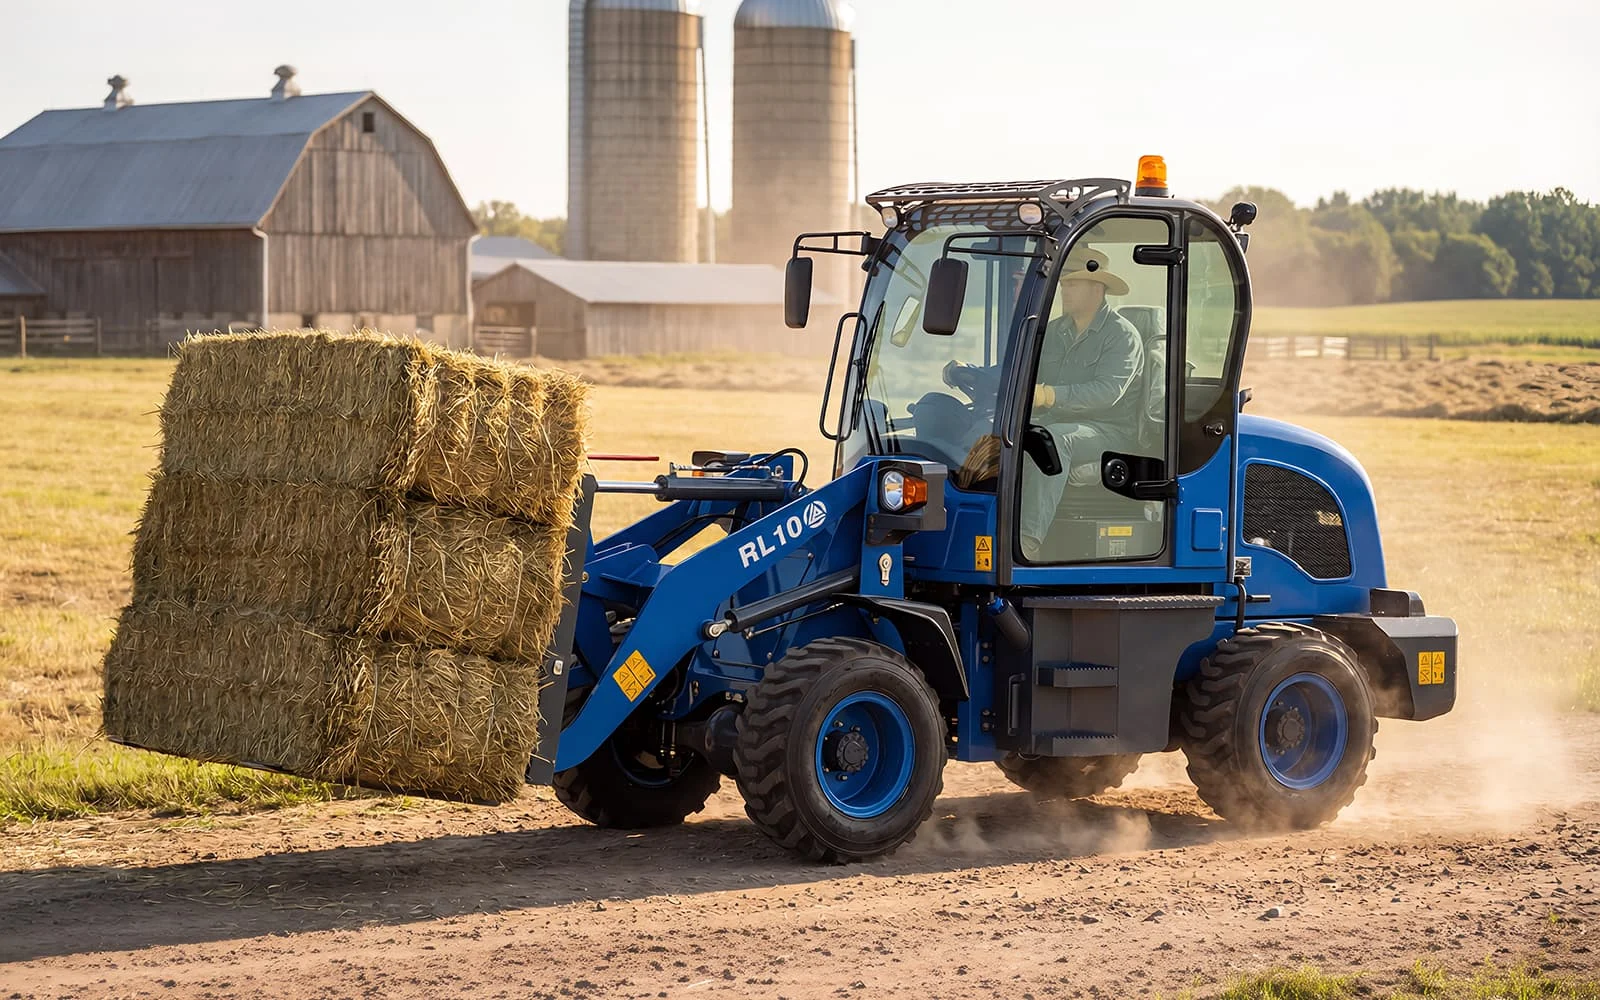
Check tires for proper inflation. Look for cuts, bulges, or embedded objects. Verify that tire pressure matches the specification in your operator’s manual. Rippa RL series use off-road tires designed for complex terrains with strong grip.
Check the bucket and attachments. Look for cracks in the weldments. Check cutting edge wear. Verify that teeth or bolt-on edges are tight and not missing. The Rippa thickened digging bucket uses high-quality material that is sturdy, durable, anti-corrosion, and rust-proof.
Check all cylinders for leaks. Look at the rod surface for scratches or pitting. Check hose fittings for drips. The RL20 safety hydraulic cylinder uses multi-level sealing to prevent leaks.
Check the hinge and articulation joint. Look for play or looseness. Check that the grease fittings are present and not damaged.
Check the cooling system. Look for leaks at hoses and connections. Check the radiator fins for debris. The RL15 split-type radiator allows easy cleaning of individual modules.
Check lights and warning devices. Look for cracked lenses or broken housings. The LED lighting on all models provides high brightness and wide range for night operation. The RL10 includes a warning light to alert surrounding personnel.
With the machine on level ground and the engine off, check these fluids.
Engine oil: Pull the dipstick, wipe it clean, insert it fully, and pull again. The oil level should be between the add and full marks. Look at the oil color. Clean oil is amber. Black oil is normal after use, but milky or foamy oil indicates a problem.
Coolant: Check the coolant overflow tank level. It should be between the minimum and maximum lines. Never open the radiator cap on a hot engine. The RL06 and RL10 documentation mentions the radiator addresses heat dissipation issues specifically.
Hydraulic oil: Check the hydraulic tank sight glass or dipstick. The RL15 dashboard includes machine pressure display. Low hydraulic oil causes slow operation and pump damage.
Fuel: Check the fuel level on the dashboard instrument display. All models allow you to observe oil level and temperature at all times.
Fuel water separator: If equipped, drain water from the bottom of the separator. Water in fuel destroys injection pumps.
Air filter: Check the air filter restriction indicator if equipped. If not, remove the air filter and tap it to remove loose dirt. Hold it up to a light. If light does not pass through, replace it. The Rippa documentation states that the fuel filter and air filter remove impurities to extend the engine’s service life.
Fuel filter: Check for water in the fuel filter bowl. Check the filter age. Replace per the maintenance schedule.
Hydraulic filter: Check the filter restriction indicator. This filter is not a daily check but should be monitored.
Enter the cab and perform these checks before starting the engine.
Check the seat and seatbelt. Adjust the seat for comfort. Verify that the seatbelt retracts and latches properly. The RL06 includes a safety guardrail that prevents the operator from accidentally falling off. The RL06 and RL15 include suspension seats with extendable seatbelts.
Check the instrument display. Turn the key to the on position without starting the engine. Verify that all warning lights illuminate. The RL10 instrument display monitors voltage and temperature. The RL15 includes fuel consumption management.
Check the joystick and pedals. Move the joystick through all functions. Push each pedal. Feel for smooth movement without sticking.
Check the steering. Turn the steering wheel lock to lock. Feel for smooth operation without noises.
Check the horn and lights. Test the horn. Turn on headlights and work lights. The RL20 LED headlights feature dustproof and waterproof design.
Start the engine and perform these checks.
Check for warning lights. All warning lights should turn off within a few seconds after starting. If any stay on, investigate.
Check idle operation. Listen for unusual noises. The Rippa engines are described as soft roar and elegant start.
Check the exhaust. A small amount of white smoke on cold startup is normal. Blue smoke indicates oil burning. Black smoke indicates fuel problems.
Test the bucket controls. Raise and lower the bucket. Curl and dump. Feel for smooth operation.
Test the steering. Turn left and right. The RL series steering angle is 35 degrees.
Test the brakes. Move forward slowly and apply the brakes. The machine should stop smoothly.
Test the attachment coupler if equipped. Cycle the quick-coupler to verify proper operation.
Park the machine on level ground. Lower the bucket to the ground. Engage the parking brake. Idle the engine for 30 to 60 seconds to cool turbocharger if equipped. Turn off the engine.
Walk around again and look for new leaks. Check that all lights are off. Record any issues in your maintenance log.
You can print this card and keep it in the cab.
Walk-around inspection before starting:
Tires checked
Bucket and cutting edge checked
Cylinders and hoses checked for leaks
Hinge and articulation checked
Radiator and cooling checked
Lights and warnings checked
Fluid level checks with engine off:
Engine oil checked
Coolant checked
Hydraulic oil checked
Fuel level checked
Water separator drained
Filter inspections:
Air filter checked
Fuel filter checked
Cab and controls before start:
Seat and seatbelt checked
Instrument display checked
Joystick and pedals checked
Steering checked
Horn and lights checked
Startup and operational test:
Warning lights off
Idle smooth, no unusual noises
Exhaust normal
Bucket controls smooth
Steering smooth
Brakes work
Shutdown and final check:
Parked on level ground
Bucket lowered
Parking brake engaged
Engine idled down
No new leaks
In addition to the daily checklist, perform these checks weekly.
Grease all fittings: The articulation hinge, bucket pins, cylinder pins, and steering linkages require grease. Use a grease gun until fresh grease appears at the joint.
Check battery terminals: Look for corrosion. Clean with a wire brush and apply grease to terminals.
Check belt tension: Push on the longest span of each belt. You should have about one-half inch of deflection.
Check tire pressure with a gauge: Do not rely on visual inspection alone.
Check wheel lug nut torque: Use a torque wrench to verify that all lug nuts are tight.
Perform these checks monthly or every 100 hours.
Change engine oil and filter: Follow the schedule in your operator’s manual. Typically every 250 to 500 hours.
Change fuel filter: Every 500 hours or sooner if fuel quality is poor.
Clean the radiator: Use compressed air or low-pressure water. Blow from the fan side toward the outside. The RL15 split-type radiator allows cleaning individual modules separately.
Check hydraulic oil level precisely: Cycle all cylinders to full extension and retraction before checking.
Inspect the bucket cutting edge: Measure wear. Replace when worn past the wear line.
Check all bolts and fasteners: Use a torque wrench on critical fasteners including wheel lugs, cylinder mount bolts, and hinge pins.
| Interval | Actions |
|---|---|
| Daily or every 10 hours | Walk-around inspection, fluid checks, filter checks, cab checks, operational test |
| Weekly or every 50 hours | Grease all fittings, check battery, check belts, check tire pressure, check lug nuts |
| Monthly or every 100 hours | Change engine oil and filter, change fuel filter, clean radiator, check hydraulic oil, inspect cutting edge, check fasteners |
A small hydraulic leak loses a few drops per hour. Over a 10-hour day, that is a cup of oil. Over a month, that is gallons. But more importantly, a small leak often becomes a large leak suddenly. Find it early.
Always use the oil viscosity and specification from the operator’s manual. Wrong oil causes engine wear and reduces fuel efficiency.
While you cannot over-grease a bearing, you can make a mess and waste grease. A few pumps until grease appears is sufficient.
A warning light means stop. Do not finish the shift. Do not wait until tomorrow. Stop and investigate now.
A maintenance log helps you see patterns. If you replace a hose every three months, you have an alignment problem. If you add oil every day, you have a leak or an engine problem.
 How Rippa Design Makes Maintenance Easy
RL06: Opening the loader’s seat provides easy access to the engine, filter element, and other components. This design saves time for daily upkeep and troubleshooting. The internal layout is neat with all kinds of pipelines and harnesses clear.
RL10: The engine hood opens backward and can be operated with one hand. You do not need to move back and forth on both sides of the vehicle. The joint structure of hydraulic hoses is easy to disassemble and assemble.
RL15: The covers on both sides of the machine body can be opened. The split radiator allows replacing only the faulty module without disassembling the whole radiator assembly.
RL20: The engine compartment uses a radial layout with key components easily accessible. Ample space is reserved inside the compartment to facilitate tool operation and collaborative work.
All models: The quick-change connector allows various auxiliary tools to be easily replaced without complex tools.
Drepturi de autor: Shandong Rippa Machinery Group Co., Ltd.
Reprezentant legal: Yan Huaiguo | Nr. licență: 913708000509206491
Adresă: Str. Guangan nr. 39, subdistrictul Liuhang, Zona de Înaltă Tehnologie, orașul Jining, provincia Shandong

 Acasă
Acasă
 Produse
 E-mail
 WhatsApp